
The trainer aptitude test (AEVO) is a crucial step for future trainers. A central element that is repeatedly the focus of the practical examination is the 4-step method. It is the classic and most widely used model for the practical instruction of apprentices. But how do you apply it perfectly in the examination situation to convince the examination board? In this article, we break down the method step by step and provide you with practical tips that will make you shine.
The 4-Step Method: More Than Just a Scheme
The 4-step method is not a rigid corset, but a didactically sound guideline for imparting learning content sustainably. It structures the learning process into four logical phases that actively involve the apprentice and lead from pure knowledge acquisition to independent application. For your AEVO exam, this means: you must not only know the steps but also bring them to life and demonstrate your pedagogical suitability.
Imagine you are teaching an apprentice in their first year how to write a professional email to a customer. A common but important process. We use this example to illustrate the four steps.
Step 1: Preparation – Setting the Course for Learning Success
The first step is the foundation for everything else. Careful preparation often determines the success or failure of the entire instruction. The goal here is to create a positive and anxiety-free learning atmosphere and to motivate the apprentice for the topic.
What does the examination board want to see?
- Psychological preparation: You pick up the apprentice. Greet them friendly, briefly ask about their well-being, and alleviate any nervousness. A little small talk about the weekend can work wonders.
- Pedagogical preparation: Build on known knowledge. For example, ask: "Have you ever received a business email or even written one yourself?" This activates prior knowledge and creates a connection to the new topic.
- Create motivation: Explain why the learning objective is important. "Imagine you can communicate independently and confidently with customers after this instruction. That's a big step and an important skill you'll need throughout your career with us and beyond."
- Define learning objective: Formulate the learning objective clearly and understandably. "At the end of our small learning unit today, you will be able to answer a formally correct and friendly email inquiry from a customer."
Practical example for the exam:
"Good morning, Mr. Müller. Glad you're here. How was your start to the week? ... Very good. Today I would like to work with you on an important building block of customer communication. Do you remember when we talked about the different communication channels in the company last week? ... Exactly! We'll build on that today. It's about how we professionally respond to customer inquiries via email. This is a core competence in sales and will help you make a great impression on our customers from the start. Our goal for the next fifteen minutes is for you to be able to formulate such an email independently."
With such an introduction, you show that you not only impart knowledge but also have the person in mind. This is a huge plus in the AEVO exam.
Step 2: Demonstration – Clarity Through Showing
Now you, as the trainer, are in the spotlight. In this phase, you demonstrate the complete work process – clearly, structured, and at an appropriate pace. The apprentice watches, listens, and should grasp the process in its entirety.
What is important here?
- Complete action: Perform the entire process once completely. In the email example, this would be: opening the email, naming the important elements (salutation, subject, body, closing, signature), formulating the reply, and clicking the "Send" button (symbolically).
- Explain and justify: Comment on each step. Why do you choose a certain salutation? Why is the subject so important? "I start with a polite and personal salutation, i.e., 'Dear Mr. Customer'. This creates a professional distance and shows respect. In the subject line, I summarize the request briefly and concisely so that the customer immediately knows what it's about. That saves them time."
- Maintain eye contact: Even when demonstrating something, look at the apprentice again and again. Make sure they can follow you. A nod or a questioning look can serve as non-verbal signals here.
- Do not allow questions from the apprentice: In this stage, the apprentice should absorb the overall process undisturbed. Announce that questions are welcome immediately afterward. "Please pay close attention now. I will show you the complete process once. We will clarify questions immediately in the next round."
Table: Key Elements of the Demonstration
| Element | Description | Why it is important |
|---|---|---|
| Subject line | Short, concise, meaningful (e.g., "Your inquiry of 12.03.2026") | Ensures quick assignment and a professional first impression. |
| Salutation | Formal and personalized (e.g., "Dear Mr. Schmidt,") | Shows respect and individual appreciation. |
| Introduction | Reference to the customer inquiry, express thanks. | Creates a positive conversation atmosphere. |
| Body | Answering the question(s), clear and structured. | The core of the email, must contain all information. |
| Closing | Friendly closing, possibly outlook on next steps. | A round conclusion, leaves a positive impression. |
| Signature | Complete contact details of the company and the sender. | Legally required and service-oriented. |
Step 3: Imitation – From Watching to Doing
Now the tables are turned. It's the apprentice's turn to perform the action they just saw. Your role changes from demonstrator to learning companion. You guide, ask questions, and provide targeted assistance.
Your tasks in this phase:
- Give instructions: Clearly ask the apprentice to take over the task themselves. "So, Mr. Müller. And now it's your turn. Please answer the email from Ms. Meier that we have here in the inbox."
- Let the apprentice explain: This is the crucial point! The apprentice should not just click, but comment on and justify each of their steps. "I'm opening the email now... I'm choosing the subject... because..." Only then can you understand their thought process and determine if they have really understood the connections.
- Ask targeted questions: Help them if they get stuck. "Which salutation would be appropriate here?" or "What absolutely belongs in a professional signature?"
- Allow and correct mistakes: If the apprentice makes a mistake – perfect! That's a learning opportunity. Don't intervene immediately. Let them perhaps notice the mistake themselves. If not, correct constructively. "That's a good start. Think about how we could formulate the introduction a little more customer-friendly?"
This stage is the heart of the instruction. This is where it shows whether the spark has jumped. Take your time and be patient. Your goal is not for the apprentice to do it flawlessly, but for them to understand and learn the process.
Step 4: Practice – Consolidation and Transfer
The last step serves to consolidate what has been learned and transfer it to everyday work. A single execution is not enough to master a skill sustainably. Practice makes perfect – this also applies here.
How do you design the practice phase?
- Learning success control: Give the apprentice direct feedback. Praise what was good and give concrete tips on what can still be improved. "You've done very well, Mr. Müller. The structure of the email was perfect. In the future, make sure to formulate the subject line as precisely as possible."
- Set practice tasks: Give the apprentice similar but slightly varied tasks that they can work on independently. For example, answering two more fictitious customer emails with different concerns.
- Ensure transfer to practice: Integrate the new skill into everyday work. "From now on, I'm adding you to the distribution list for general customer inquiries. Look at the emails and forward them to the responsible colleagues. Next week, you can try your hand at the first independent reply in real operations."
- Documentation: Record the conducted instruction in the training record. This is not only a formal duty but also an important tool for documenting learning progress.
With the completion of the fourth step, you have closed the circle. The apprentice has not only watched but actively learned, understood, and practiced. They are now ready to apply the new competence in everyday work.
Internal Links for the Next Step
- Ready for the exam? Find out about our prices [blocked].
- Get started now and register [blocked] for your test access.
- Discover our learning platform and start learning [blocked].
- Test your knowledge with our sample exam [blocked].
FAQ – Frequently Asked Questions about the 4-Step Method in the AEVO Exam
1. How much time should I plan for each step in the exam?
The practical instruction usually lasts 15 minutes. A good breakdown would be: Step 1 (Preparation) approx. 2-3 minutes, Step 2 (Demonstration) approx. 3-4 minutes, Step 3 (Imitation) approx. 6-7 minutes, and Step 4 (Practice/Control) approx. 2-3 minutes. The focus is clearly on Step 3.
2. What is the most common mistake when applying the method?
Many candidates neglect Step 3. They only let the apprentice
Tags:
Read more
Other articles that might interest you

AEVO-Prüfung bestehen: Der ultimative Leitfaden 2025
Die Ausbildereignungsprüfung (AEVO) ist Pflicht für alle, die ausbilden wollen. Erfahre alles über Prüfungsablauf, Handlungsfelder, praktische Unterweisung und die besten Vorbereitungsstrategien.
Read more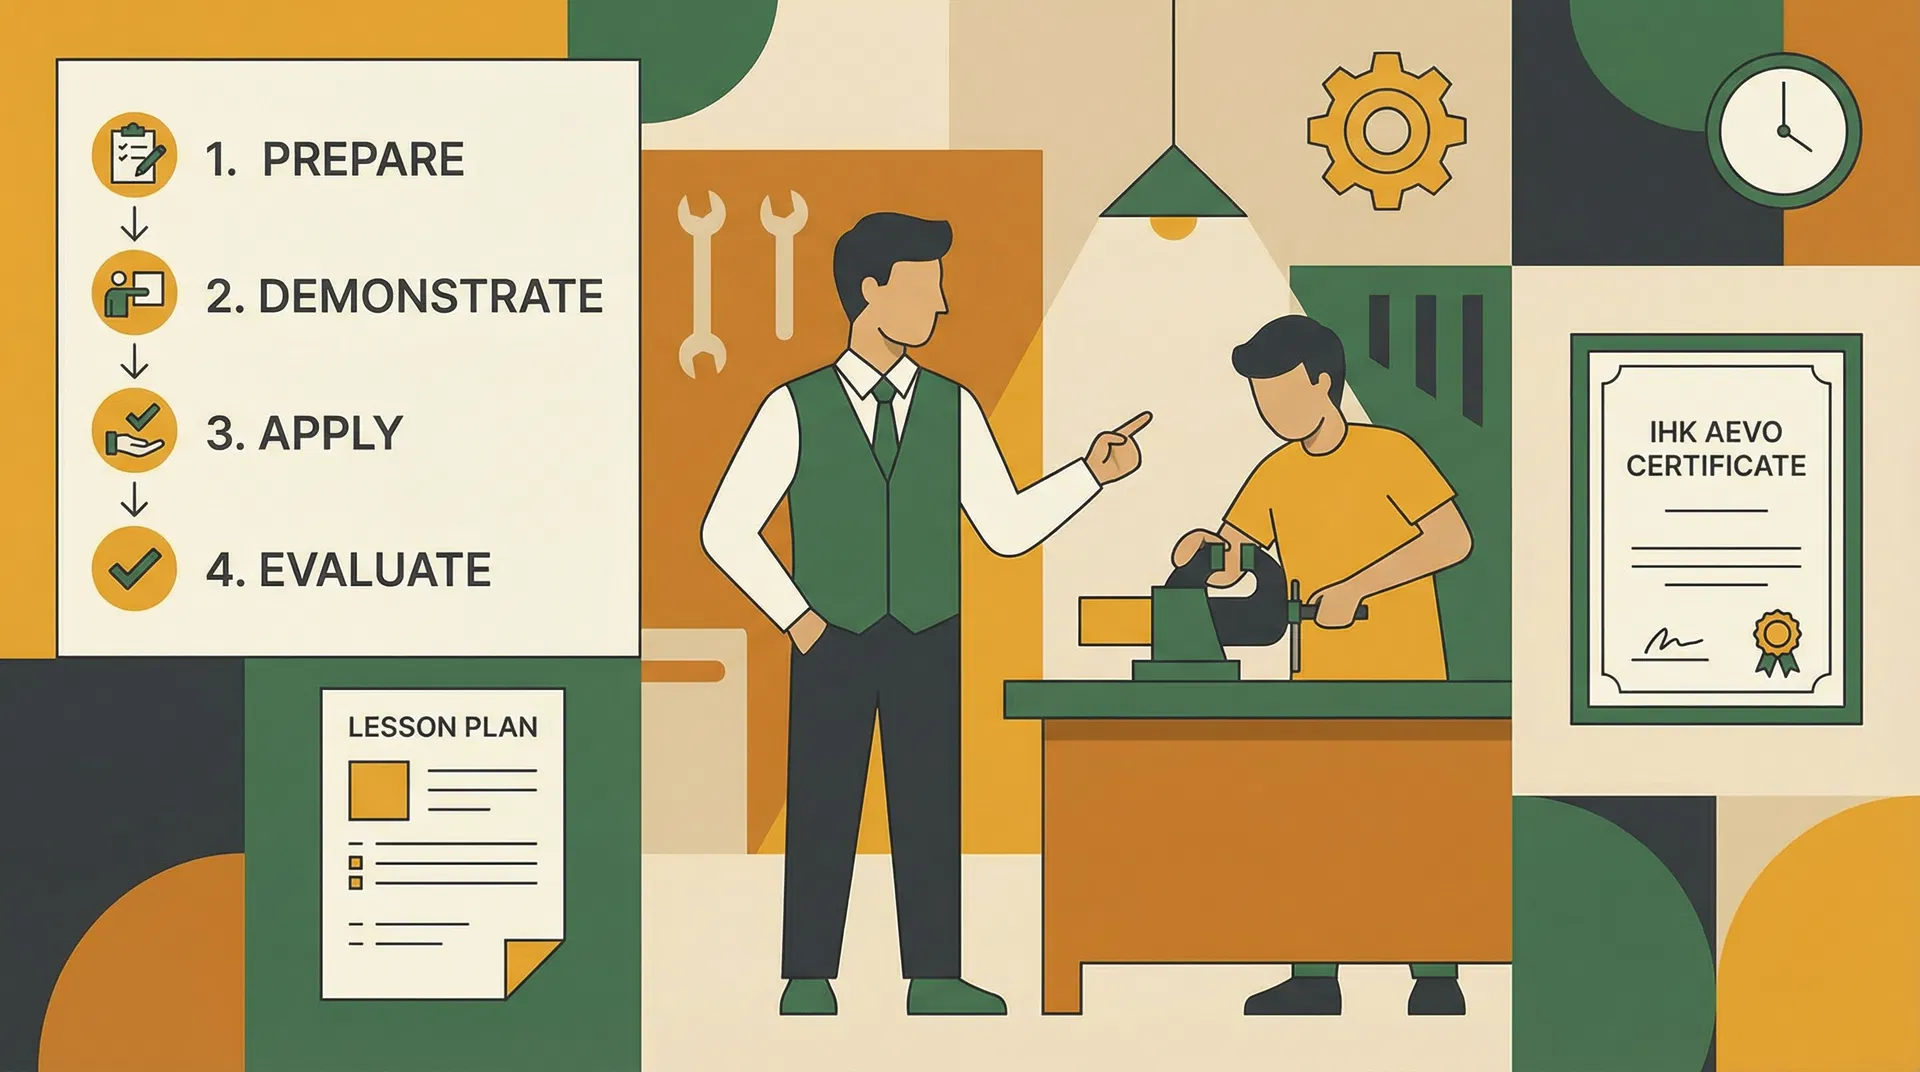
AEVO-Prüfung: Die praktische Unterweisung perfekt vorbereiten und bestehen
Die praktische Unterweisung ist das Herzstück der AEVO-Prüfung. Mit diesem Leitfaden bereitest Du Dich optimal vor, erstellst ein überzeugendes Konzept und meisterst den Prüfungstag souverän.
Read more
Spaced Repetition und Karteikarten: Die wissenschaftlich bewiesene Lernmethode für die Meisterprüfung
Du steckst mitten in der Vorbereitung auf deine Meisterprüfung und die schiere Menge an Lernstoff fühlt sich überwältigend an? Lerne, wie du mit Spaced Repetition dein Wissen nachhaltig verankerst.
Read more